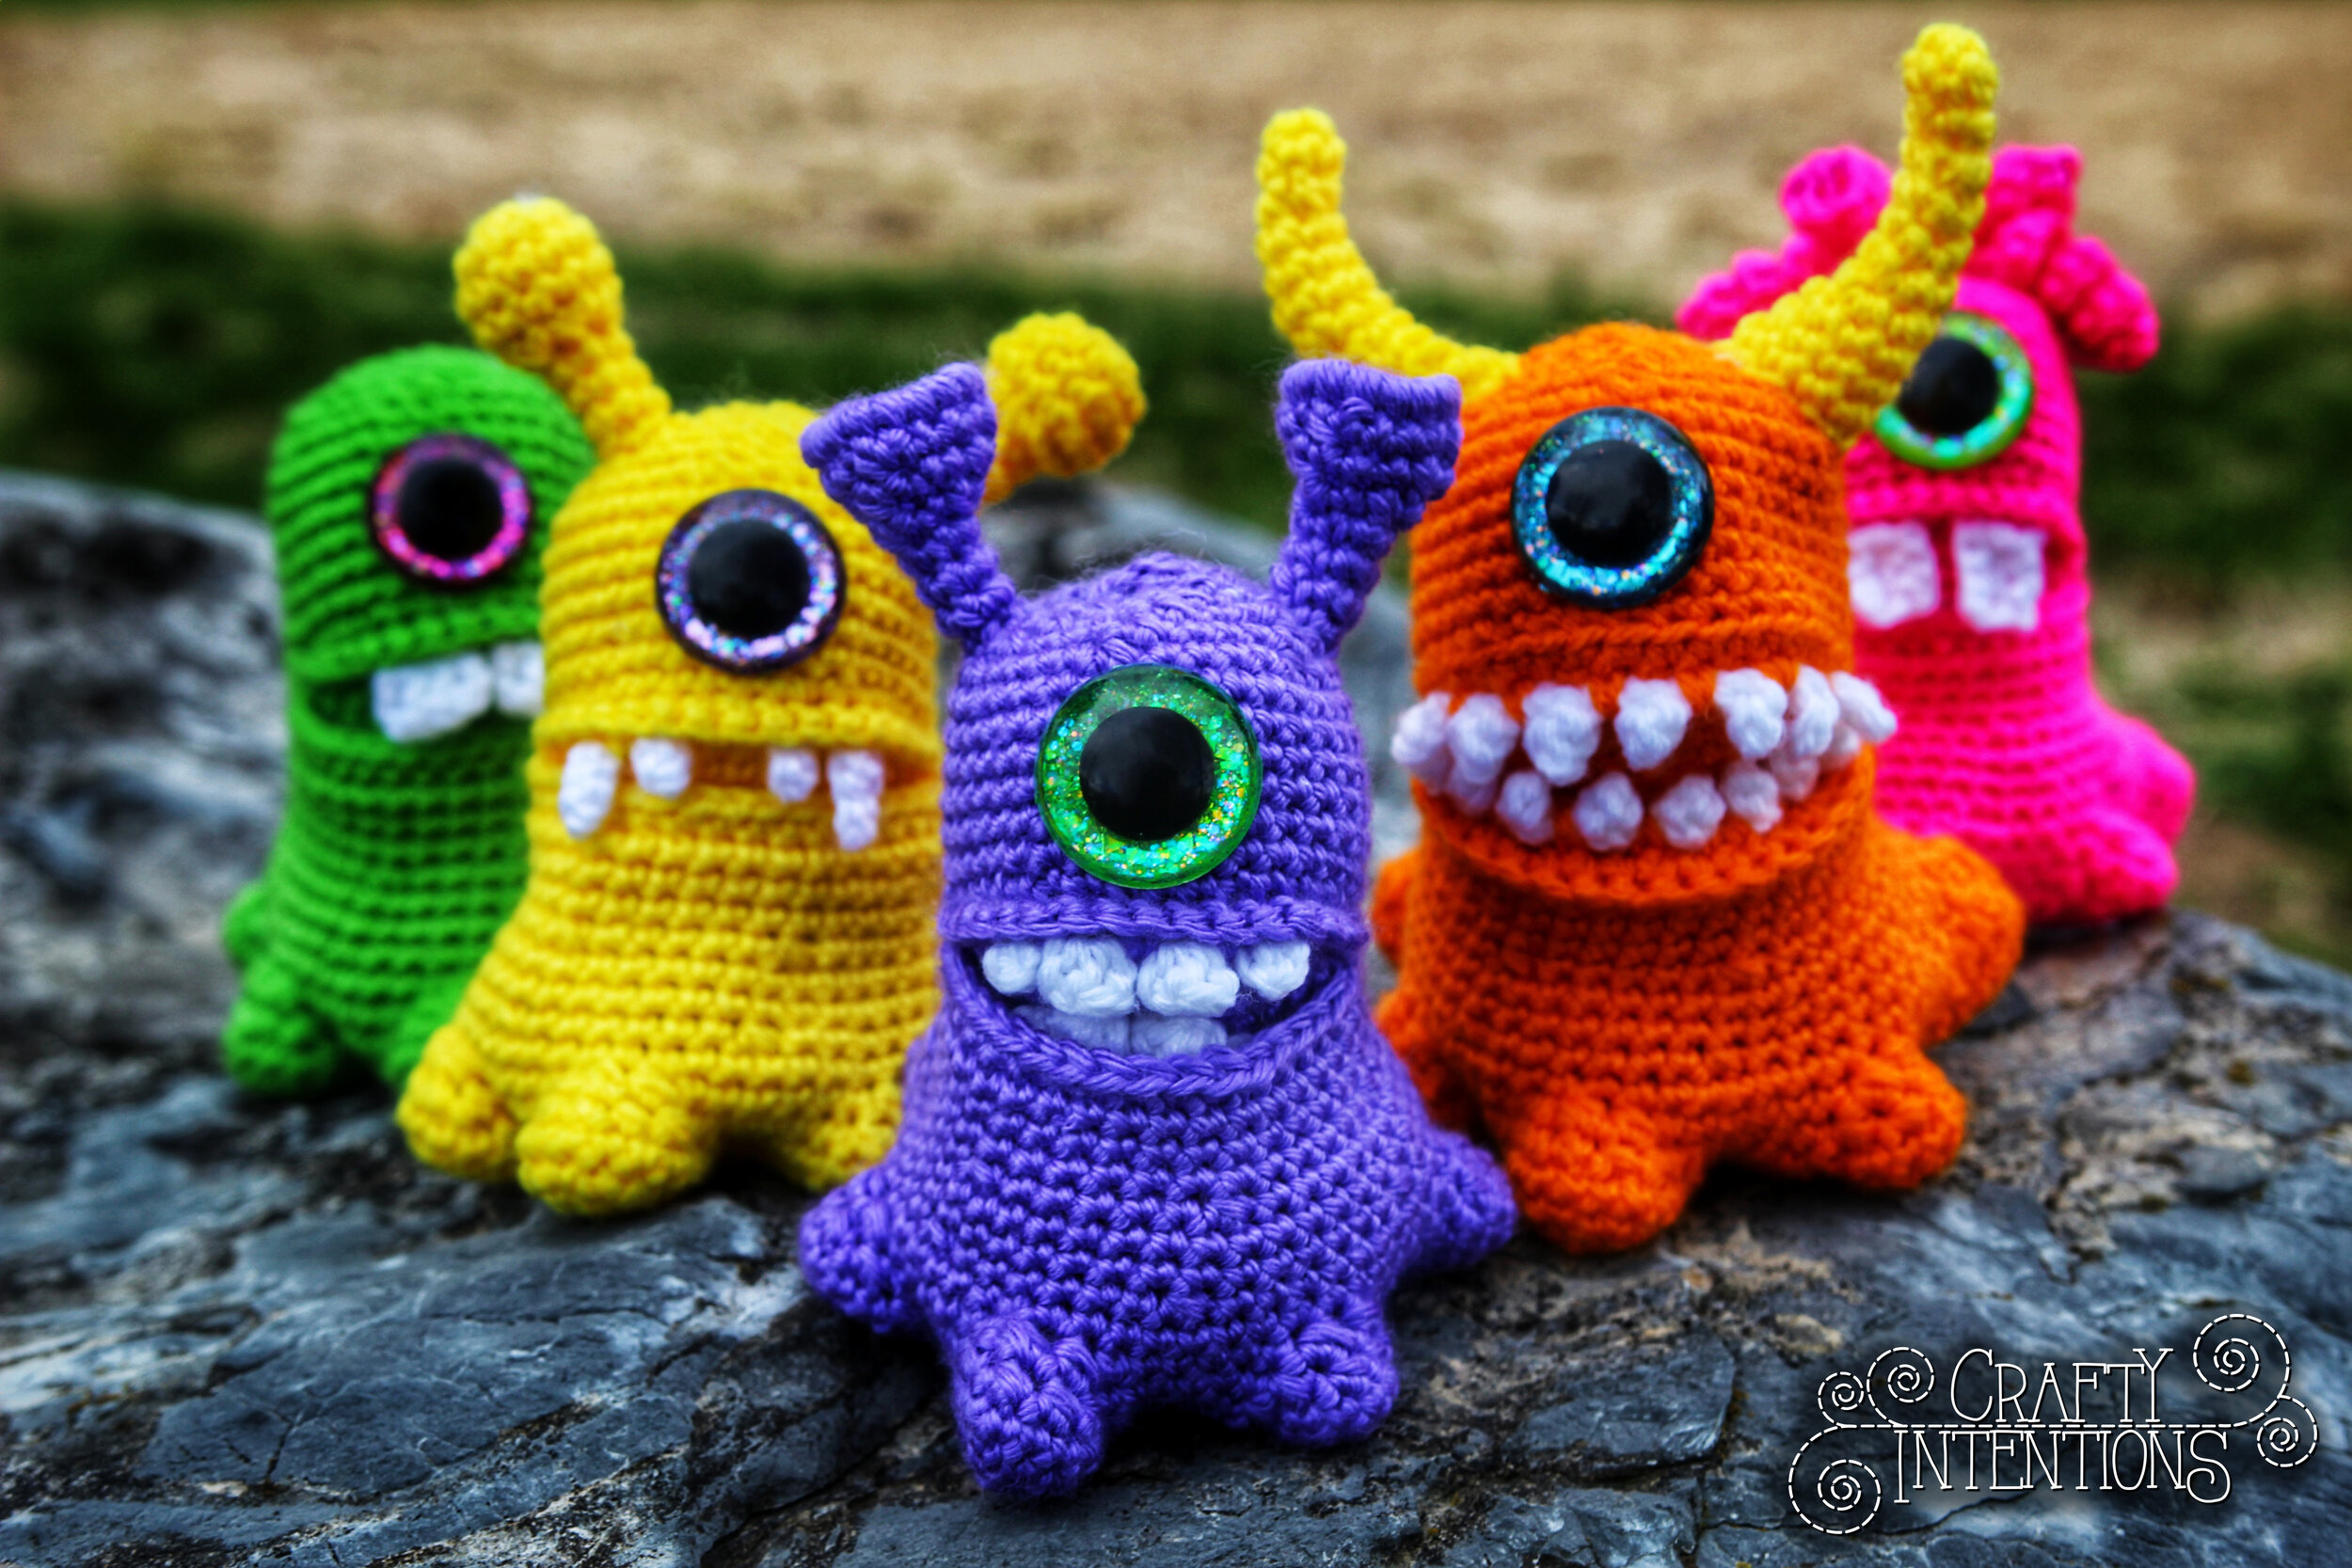
This pattern is an Advanced Beginner level pattern for an awesome Blob Monster!! This pattern comes with instructions to make Blob Monsters!! There is ONE body that you can customize with SIX different teeth options, THREE different Eye options, and FOUR different Ornamentation options! This pattern features clear step by step instruction with a lot of row-by-row photos. The gauge is not crucial to the pattern as long as the stitches are tight enough to hold stuffing.
You can find this pattern on Ravelry here: https://www.ravelry.com/patterns/library/blob-monster
Or on Etsy here: https://www.etsy.com/listing/795918414/blob-monsters-crochet-amigurumi-pattern
© 2020 Megan Lapp, Crafty Intentions™. All rights reserved. This pattern is FOR PERSONAL USE ONLY. The pattern (or parts of it) may not be reproduced, distributed or resold, translated, published, altered, shared or posted (for sale or free) over the internet or offline. You can sell items made from this pattern, provided they are handmade by yourself in a limited number and you give credit to the designer. Please add the following lines to your item description and any item you are selling: “This item is handmade by (your name) from a design and pattern by Megan Lapp, Crafty Intentions™”.
New Pattern! Butterfly (Four styles of Wings AND Butterfly Body)!
This Butterfly pattern comes with instructions for a realistic butterfly body, and FOUR individual styles of butterfly wings! These butterflies are ready to flutter into your home and sit patiently wherever you put them. This pattern features stunning wing styles ranging from extremely simple to textured and complex and clear step by step instruction with a lot of row-by-row photos. I have designated this pattern as advanced beginner, and I am so proud that it s extremely versatile and compatible with so many other patterns of mine! I’ve seen people make a butterfly octopus! A butterfly monster! And a butterfly dragon! Stunning!
© 2018 Megan Lapp, Crafty Intentions™. All rights reserved. This pattern is FOR PERSONAL USE ONLY. The pattern (or parts of it) may not be reproduced, distributed or resold, translated, published, altered, shared or posted (for sale or free) over the internet or offline. You can sell items made from this pattern, provided they are handmade by yourself in a limited number and you give credit to the designer. Please add the following lines to your item description and any item you are selling: “This item is handmade by (your name) from a design and pattern by Megan Lapp, Crafty Intentions™”.
Crafty And Nerdy: Cross Stitch Quotes and a Mini-Fail
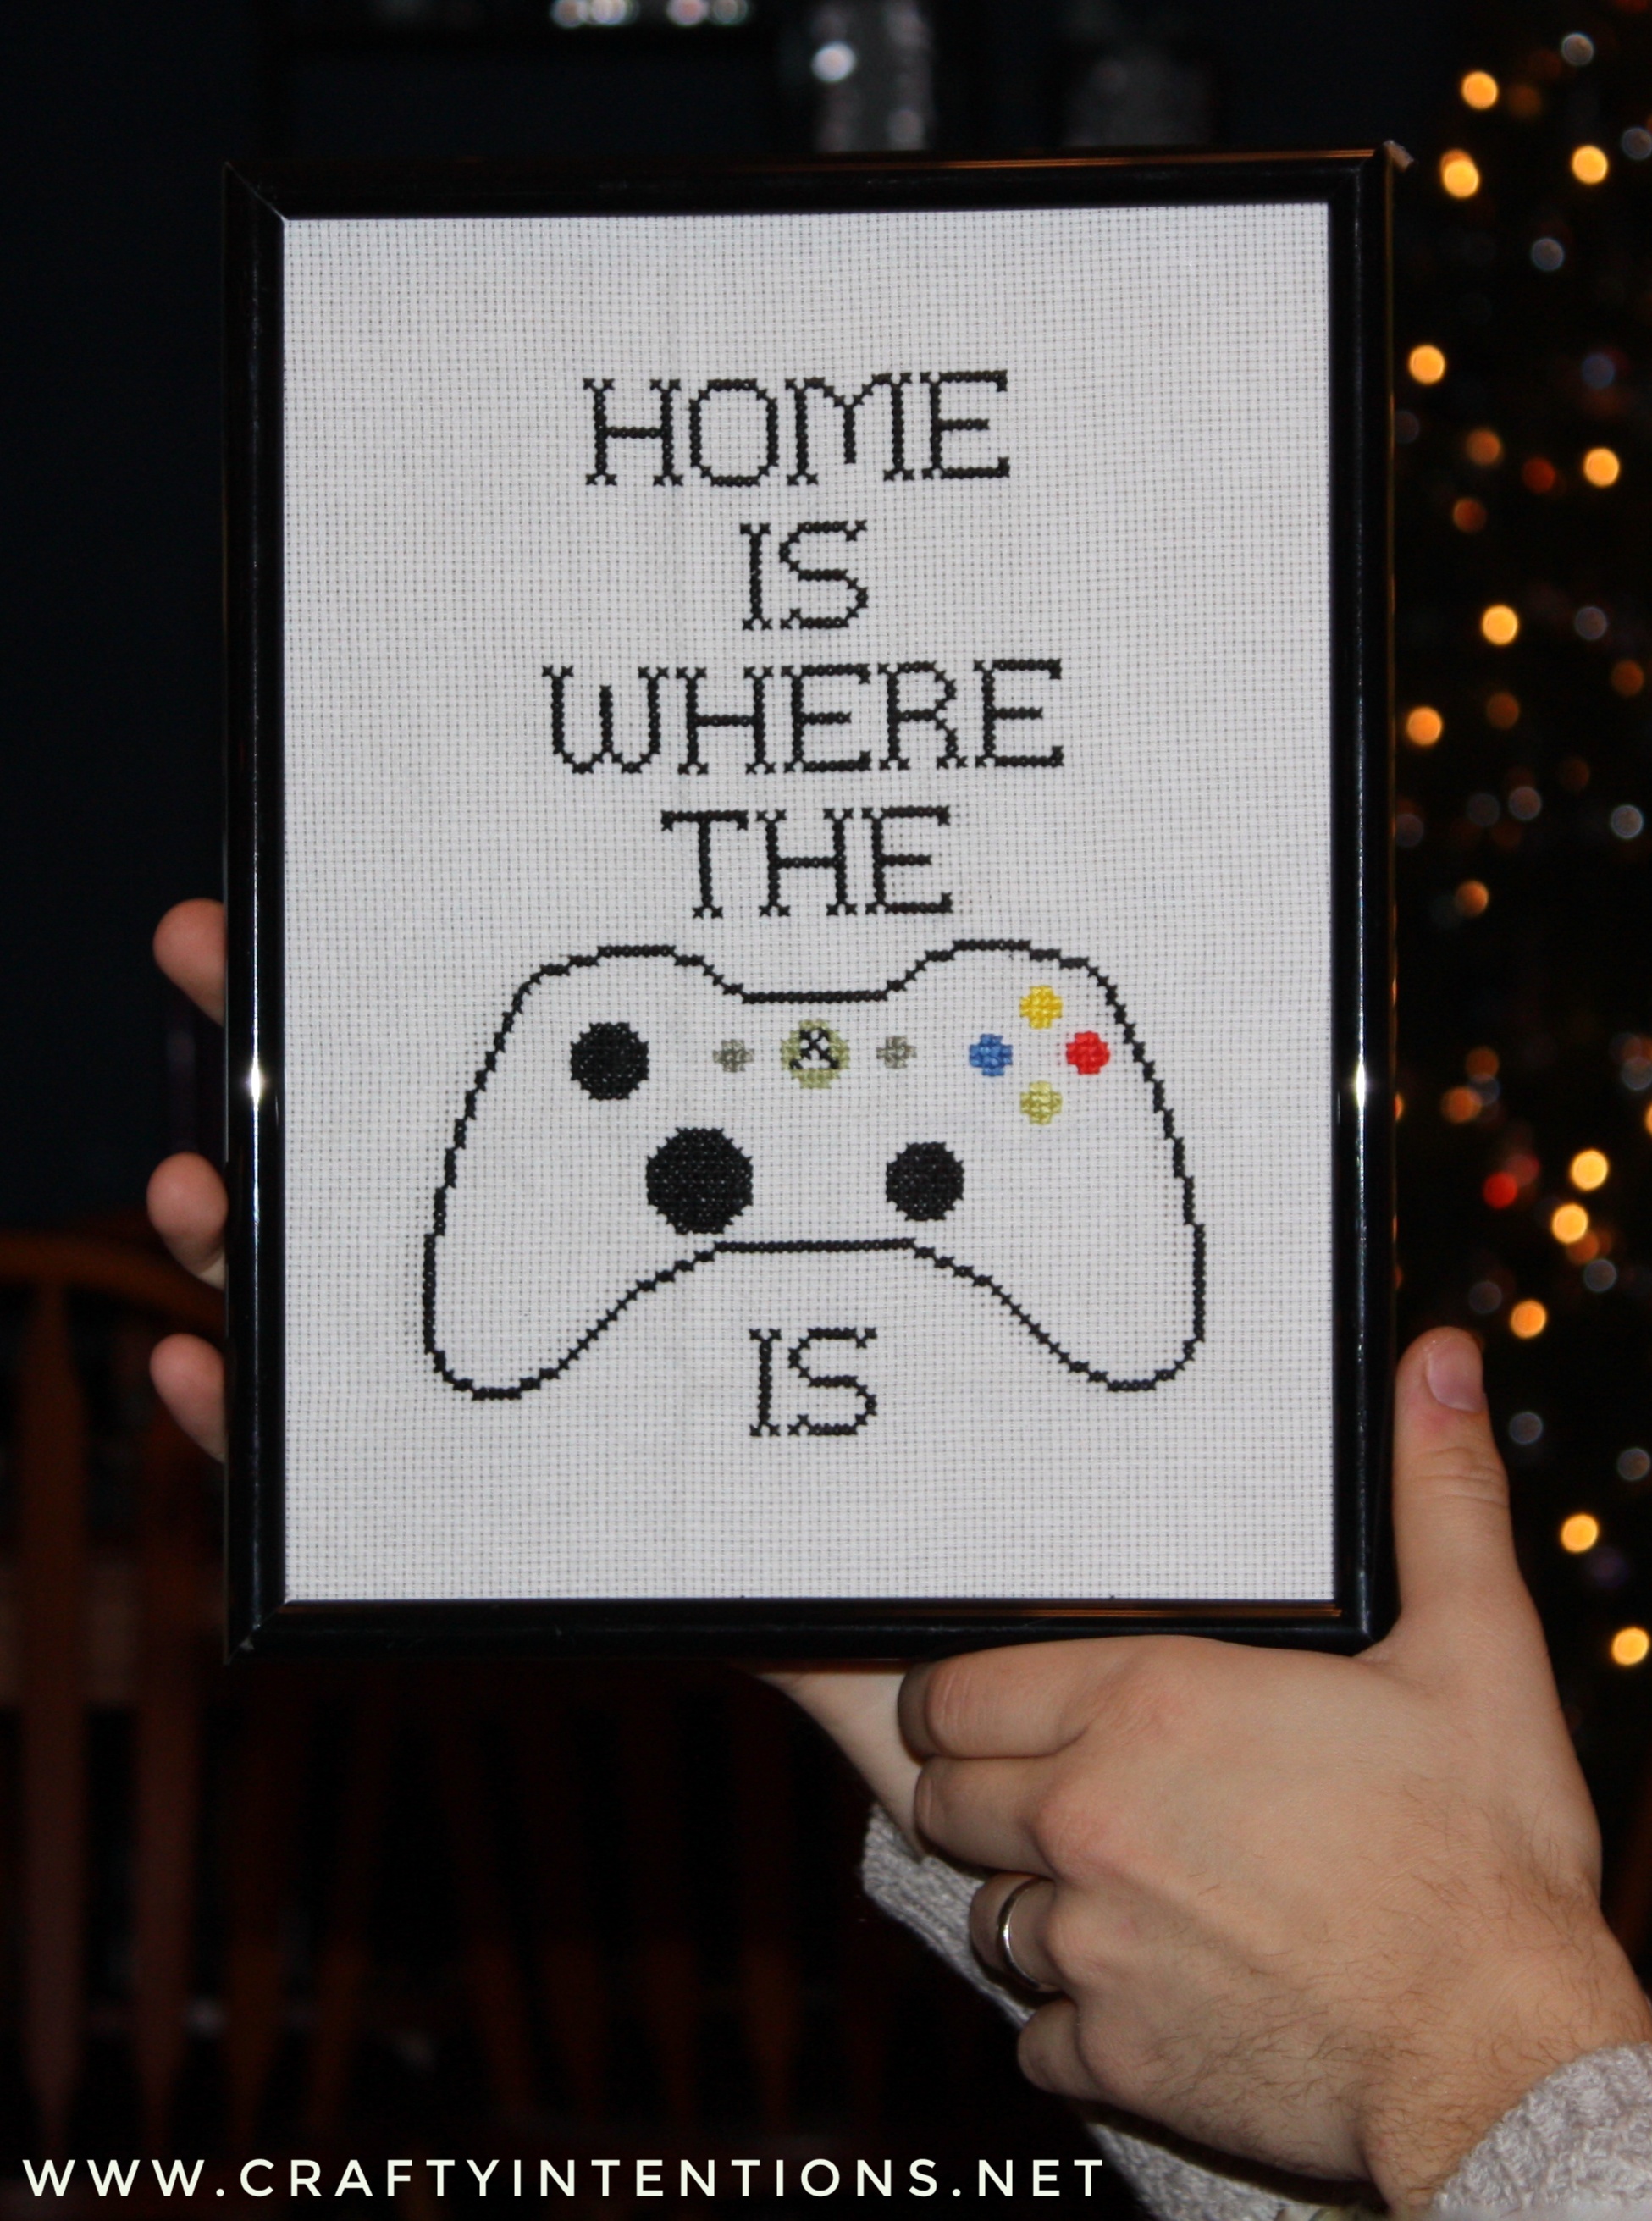
For a while, I cross stitched a new nerdy quote and framed it as a gift for my brother every year for Christmas. I worked hard on them. At some point I realized that I could single-handedly be responsible for filling his walls with decor, and decided I should probably lay off. But there were many years when that was my brother-craft.
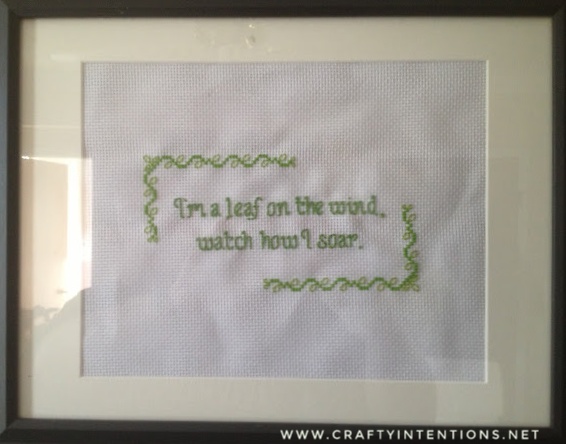
Unfortunately, at least in part, I did it wrong. I recently learned that there's a way to prevent the ugly wrinkles that my projects were plagued with. He recently moved away across the country and I can confirm that the knowledge that I could FIX those wrinkles but can not because he's living so far away is definitely burning my brain.
Pictures are less than ideal because OF THE WRINKLES and also because I didn't take any photos of them myself, and instead asked my brother to take nice pictures and I'm not sure he knows how to do that.
And I also did a set of three quotes from Firefly!
So the way you fix the back is to back the cross stitch with some cardboard, and then stretch sew it into place!
You can find a good tutorial for that here: https://peacockandfig.com/2016/01/how-to-frame-cross-stitch-embroidery/
Crafty Intentions: Failed Results, Part 2: Cupcake Icing Caulk
At some point I developed a burning desire to make cupcakes. Not real cupcakes, mind you. I do not cook or bake. Fake cupcakes. Fake, perfect looking cupcakes. First, I needed to figure out how to create perfectly little whipped icing spirals. How do you do that?
Maybe by piping three dimensional paint in an icing bag through a fancy tip?
No, that's not it. They came out yellowed and pock-marked.
What about spackle? Would that come out whiter? Fluffier?
Decidedly not.
How about Modelling paste? (Also a construction-type material)
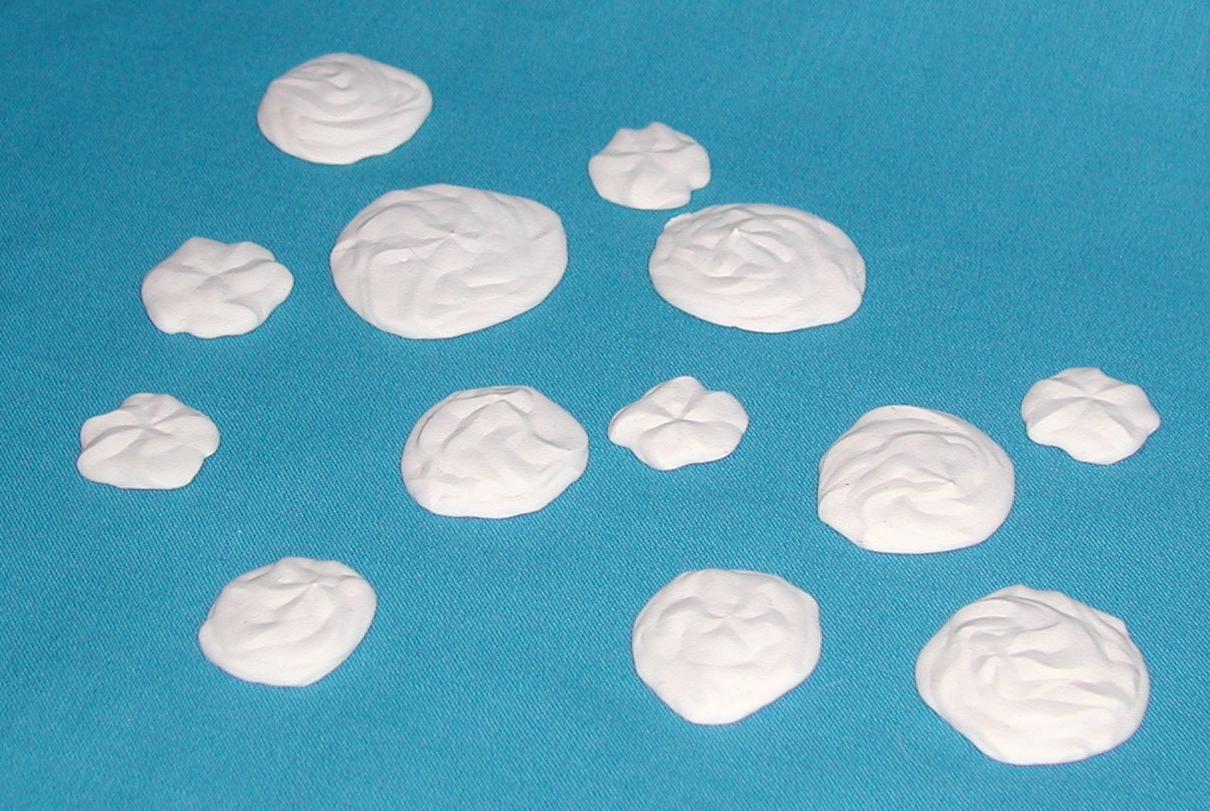
Success-ish? Achieved the whipped cream white-color. Fail on the texture. They turned out brittle and hard and very matte. I wanted a shiny delicious look. This was not it.
I ended up doubling down and piping a whole truckload of modelling paste into tiny cupcake foils. For what purpose? Mmm, hard to say. Somewhere there is a whole box of these guys just tucked away for a rainy day in my house. Definitely a journey that could have ended a whole lot sooner than it did.


