If you are working on Crafty Intentions Patterns and would like to share your works in progress, finished objects, or questions you may have along the way, then please come join us on facebook in the group called Crafty Intentions Amigurumi & Crochet community. There are over a thousand members, and you can get answers directly from me there, as well as feedback and input from many talented fellow crocheters!!
Malabrigo Yarn
I’m Thrilled to share that Malabrigo Yarn shared a Crafty Intentions pattern as made by Handmade by Lauren Lewis! It’s a fantastic rendition of the Unicorn pattern as a realistic Horse.
You can find the post here: https://www.facebook.com/malabrigoyarn/posts/2007391549307397
You can find the pattern here: https://www.ravelry.com/patterns/library/unicorn-23
or Here: https://www.etsy.com/listing/586740419/unicorn-crochet-amigurumi-pattern-by
Crafty and Thrifty: Embroidery on Thrifted Needlepoint Landscapes
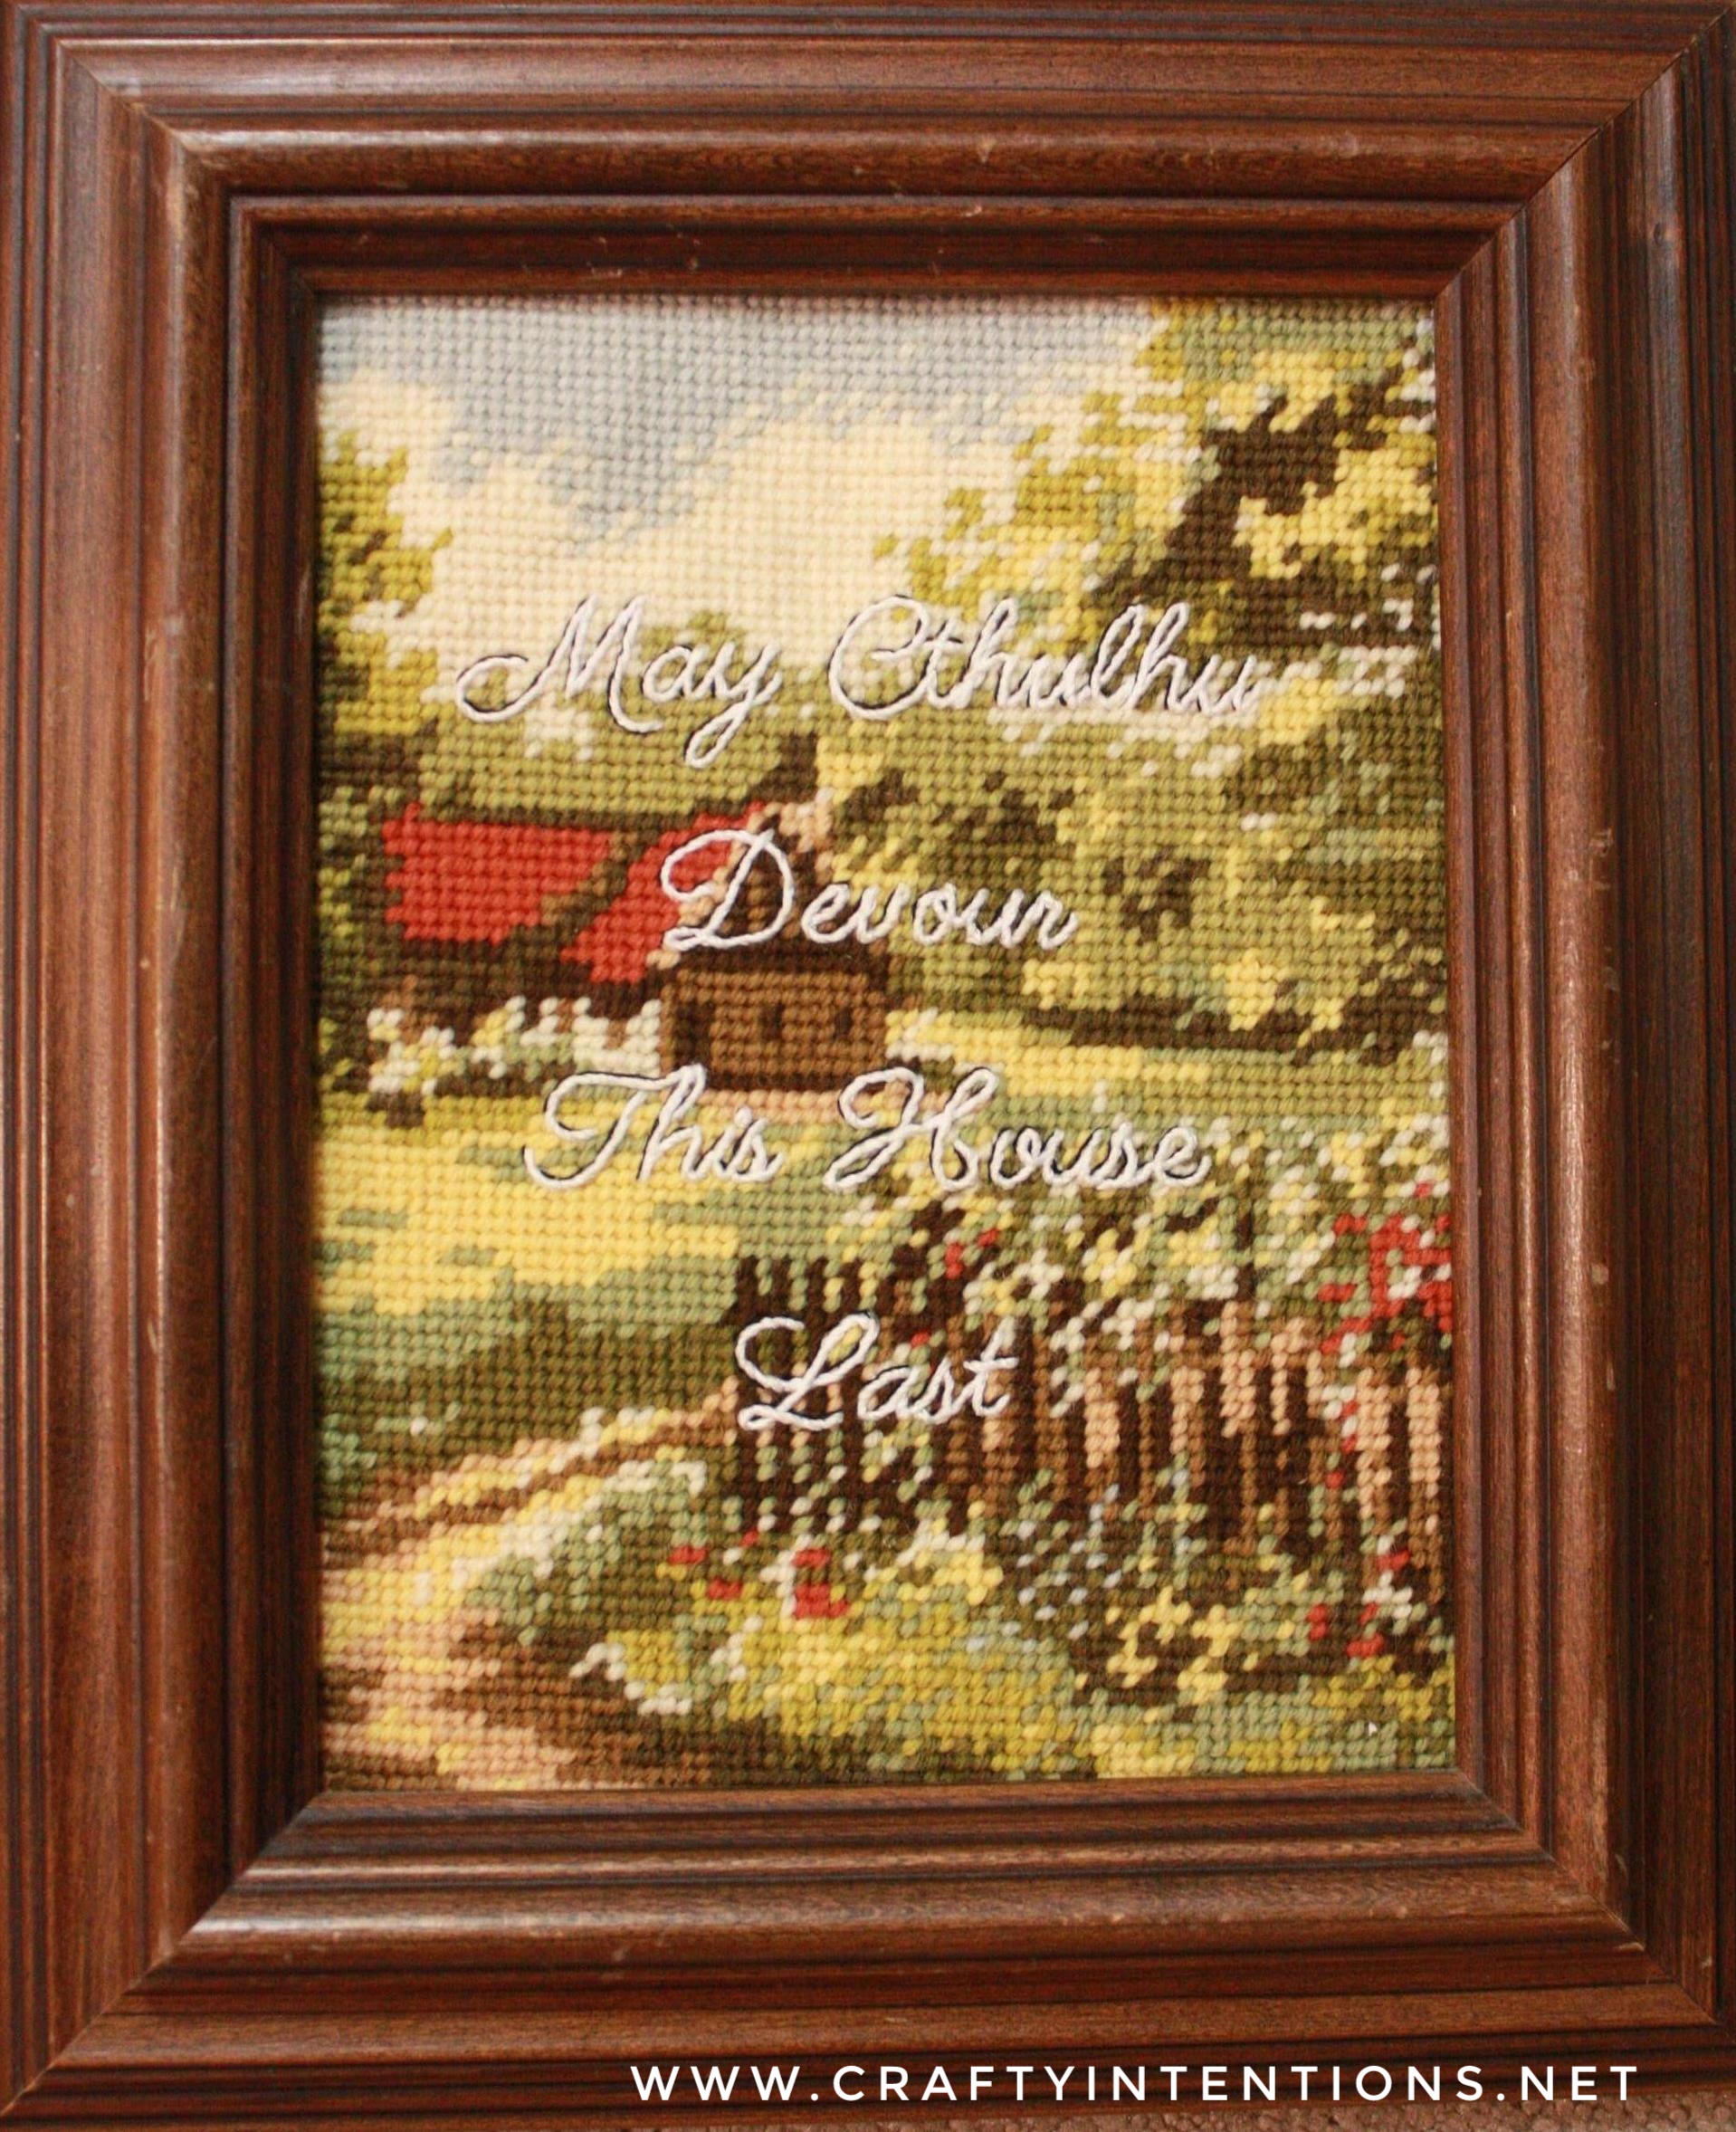
I was out at yard sales and found three fantastic landscape needle points. They were SCREAMING for embroidered quotes. So I bought them immediately and whispered sweet nothings to them all the way home and then promptly forgot about them for months, maybe even years.
I did eventually work on them. They were clearly vintage. I pried them open, and fought my way through weathered cardboard and glue, and was finally able to embroider on top of the needle point some very touching quotes. Two of these were house-warming gifts for my brother.
And then this one was IMMEDIATELY hung directly above our front door:
Finding these vintage needle points was a big awesome score. I loved re-using these pieces in this way. I bet that if you found something similar there are so many more awesome things you'd be able to do with them!!
King Cole Yarns
It’s exciting to share that Crafty Intentions patterns, as created by Handmade by Lauren Lewis, have been shared twice by the Yarn Maker King Cole Yarns! Check it out here:
https://www.facebook.com/KingColeLtd/posts/2068760159838874
Crafty And Addictive: Miniature Cross Stitch
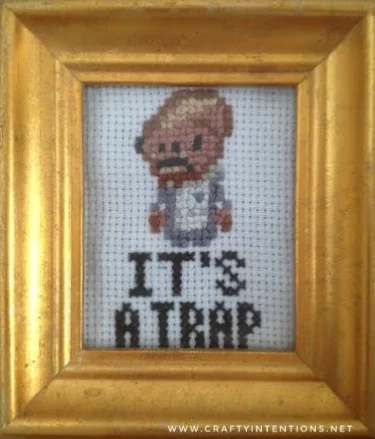
If you've ever want to try cross stitching, but you don't want to commit to a large project... Go Tiny! There are a million adorable teensy tiny frames out there. Go find one and fill it with something creative.
Or...
But careful...
It is addictive.
Giraffe Pattern
The Giraffe Pattern is the first new Crafty Intentions pattern published in 2019! Happy Hooking!
You can find it here on Ravelry: https://www.ravelry.com/patterns/library/giraffe-60
Or Here on Etsy: https://www.etsy.com/listing/675848887/giraffe-crochet-amigurumi-digital
© 2019 Megan Lapp, Crafty Intentions™. All rights reserved. This pattern is FOR PERSONAL USE ONLY. The pattern (or parts of it) may not be reproduced, distributed or resold, translated, published, altered, shared or posted (for sale or free) over the internet or offline. You can sell items made from this pattern, provided they are handmade by yourself in a limited number and you give credit to the designer. Please add the following lines to your item description and any item you are selling: “This item is handmade by (your name) from a design and pattern by Megan Lapp, Crafty Intentions™”.
Seahorses are for Lovers
New Seahorse pattern is now available!!
You can find it here on Ravelry: https://www.ravelry.com/patterns/library/seahorse-32
Or here on Etsy: https://www.etsy.com/listing/681598581/seahorse-crochet-amigurumi-pattern
© 2019 Megan Lapp, Crafty Intentions™. All rights reserved. This pattern is FOR PERSONAL USE ONLY. The pattern (or parts of it) may not be reproduced, distributed or resold, translated, published, altered, shared or posted (for sale or free) over the internet or offline. You can sell items made from this pattern, provided they are handmade by yourself in a limited number and you give credit to the designer. Please add the following lines to your item description and any item you are selling: “This item is handmade by (your name) from a design and pattern by Megan Lapp, Crafty Intentions™”.
TRUST THE PATTERN!
I use the phrase “Trust the Pattern” so often in the advice I give when people ask questions about following Crafty Intentions patterns, that it has become a slogan of sorts. In honor of this mantra, I did the work to turn it into a beautiful design for hookers everywhere!!
Go here to purchase your own tote bag that you, too, can fill with WIPs and Chains (stitches)!!
And say it with me…
Pony Pattern!
The Last published pattern of 2018 was the Pony Pattern! Using it, you can make a Pony (Horse), a Pegasus (Horse with Wings), or an Alicorn (Horse with Wings and a Horn)! Also features minimal sewing!
You can find it here: https://www.ravelry.com/patterns/library/pony-pegasus-unicorn-alicorn
Or Here: https://www.etsy.com/listing/650091086/pony-crochet-amigurumi-digital-pattern
© 2019 Megan Lapp, Crafty Intentions™. All rights reserved. This pattern is FOR PERSONAL USE ONLY. The pattern (or parts of it) may not be reproduced, distributed or resold, translated, published, altered, shared or posted (for sale or free) over the internet or offline. You can sell items made from this pattern, provided they are handmade by yourself in a limited number and you give credit to the designer. Please add the following lines to your item description and any item you are selling: “This item is handmade by (your name) from a design and pattern by Megan Lapp, Crafty Intentions™”.
Crafty Seamstress Intentions: Butterfly Wings
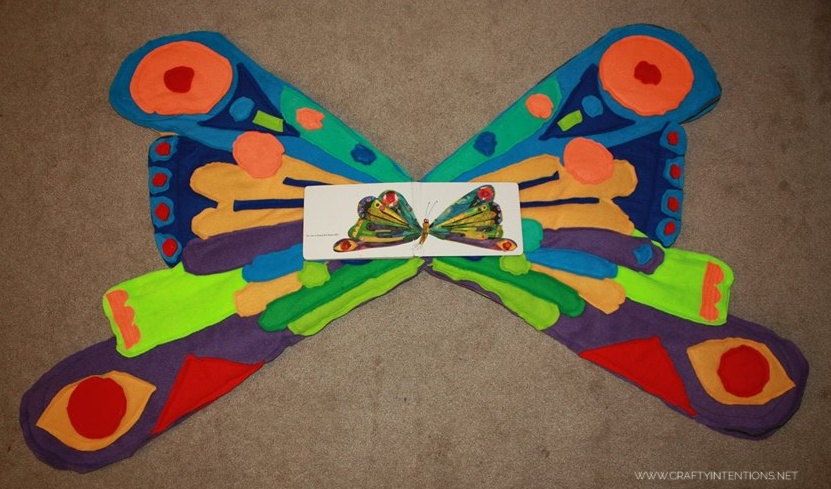
I've made butterfly wings several times. I love the idea of easy-to-use, not-easy-to-outgrow, dress-up clothes for kids. Butterfly wings are perfect. If they slip on to arms, and have loops of elastic for wrists or fingers, they are all of those things I mentioned above. Today you can find cheapy light weight Butterfly wing scarves on places like Amazon and Ebay. If you add a couple of Pacifier clips to the neckline of the scarf, you can clip it to a kids shirt and then you'll have your own happy butterfly. Or you can try to do it the hard way. I needed to do it the hard way for my son's Halloween costume one year. He was so into the Very Hungry Caterpillar, and I knew he'd love running around screaming that he was a VERY BEAUTIFUL BUTTERFLY, but I also knew I'd have to make it basically identical to the book to be appealing to him.
This was a lengthy process of cutting up two pairs of every piece of fleece, sewing it to a middle-felt & batting sandwich, and making sure that everything colorful was exactly repeated on each front and back of each left and right wing. It came out looking great, I think. But at the same time, it's like a heavy blanket. Using pacifier clips to clip it to his arms didn't pan out, because it was just too heavy. I ended up sewing it directly to a cheap orange sweatshirt, and I'm a little sad about that because I am very pro-reusability. But, it was the only way to fully support the weight of these wings! If I had to do it again, I don't have a better idea of how to get it done. Maybe paint a sheet instead? Hmm. But he was thrilled.
I had these grand visions (Before making these wings) of making beautiful piecey handmade butterfly wings that you clip onto a child for INSTANT magic. But... Like I said, it turned out to be a lengthy process. I tried it again using lighter weight fabric (Not fleece) on Felt, sandwiched between felt cut out to showcase the fabric underneath. And I glued the blue fabric in place using fabric glue. However, it ended up feeling like WAY too much glue, gobs and gobs and buckets of glue. And then I lined it up with a piece of felt and cut out felt windows to showcase the blue fabric beneath... but this was tedious and difficult. I ended up overstitching the top and bottom felt pieces into place (It looks the same from both sides of the wings, so it was 3 layers of felt total, 2 layers of glued blue shiny fabric).
It turned out decently well, but way too much work and time to be able to make something like this in bulk -- so this is the last version I made!
It was still a hit!
Affordable Wall Art: Thrift Store Altered Landscape
Do you want to add some whimsical wall art to a room using minimal crafty energy for very little money?? Awesome:
1. Go to local thrift store
2. Find a dowdy boring landscape
3. Paint in (or print out/cut out/modge podge on) some [Insert cool thing here]
4. Profit?
The "Cool Thing" could be space ships, robots, dinosaurs, black holes, Godzilla, the Emerald City, the whomping willow, a Death Star, Unicorns, etc.
Or Wild Things waving to Max.
For extra credit, paint the sky with glow in the dark stars/galaxy.
Featured Pattern: Mickey Mouse Baby Hat
[Free] Pattern by Olivia Kent
(Not a Crafty Intentions Pattern)
Available here: https://www.ravelry.com/patterns/library/mickey-mouse-inspired-baby-hat
This was easy to make, and certainly a crowd pleaser at a Disney-Enthusiast's Baby Shower. I would certainly recommend this pattern!
Featured Pattern: Girl Dolls in Berets
Pattern by Desislava Dimitrova
(Not a Crafty Intentions Pattern)
Available Here: https://www.ravelry.com/patterns/library/aria-crochet-doll
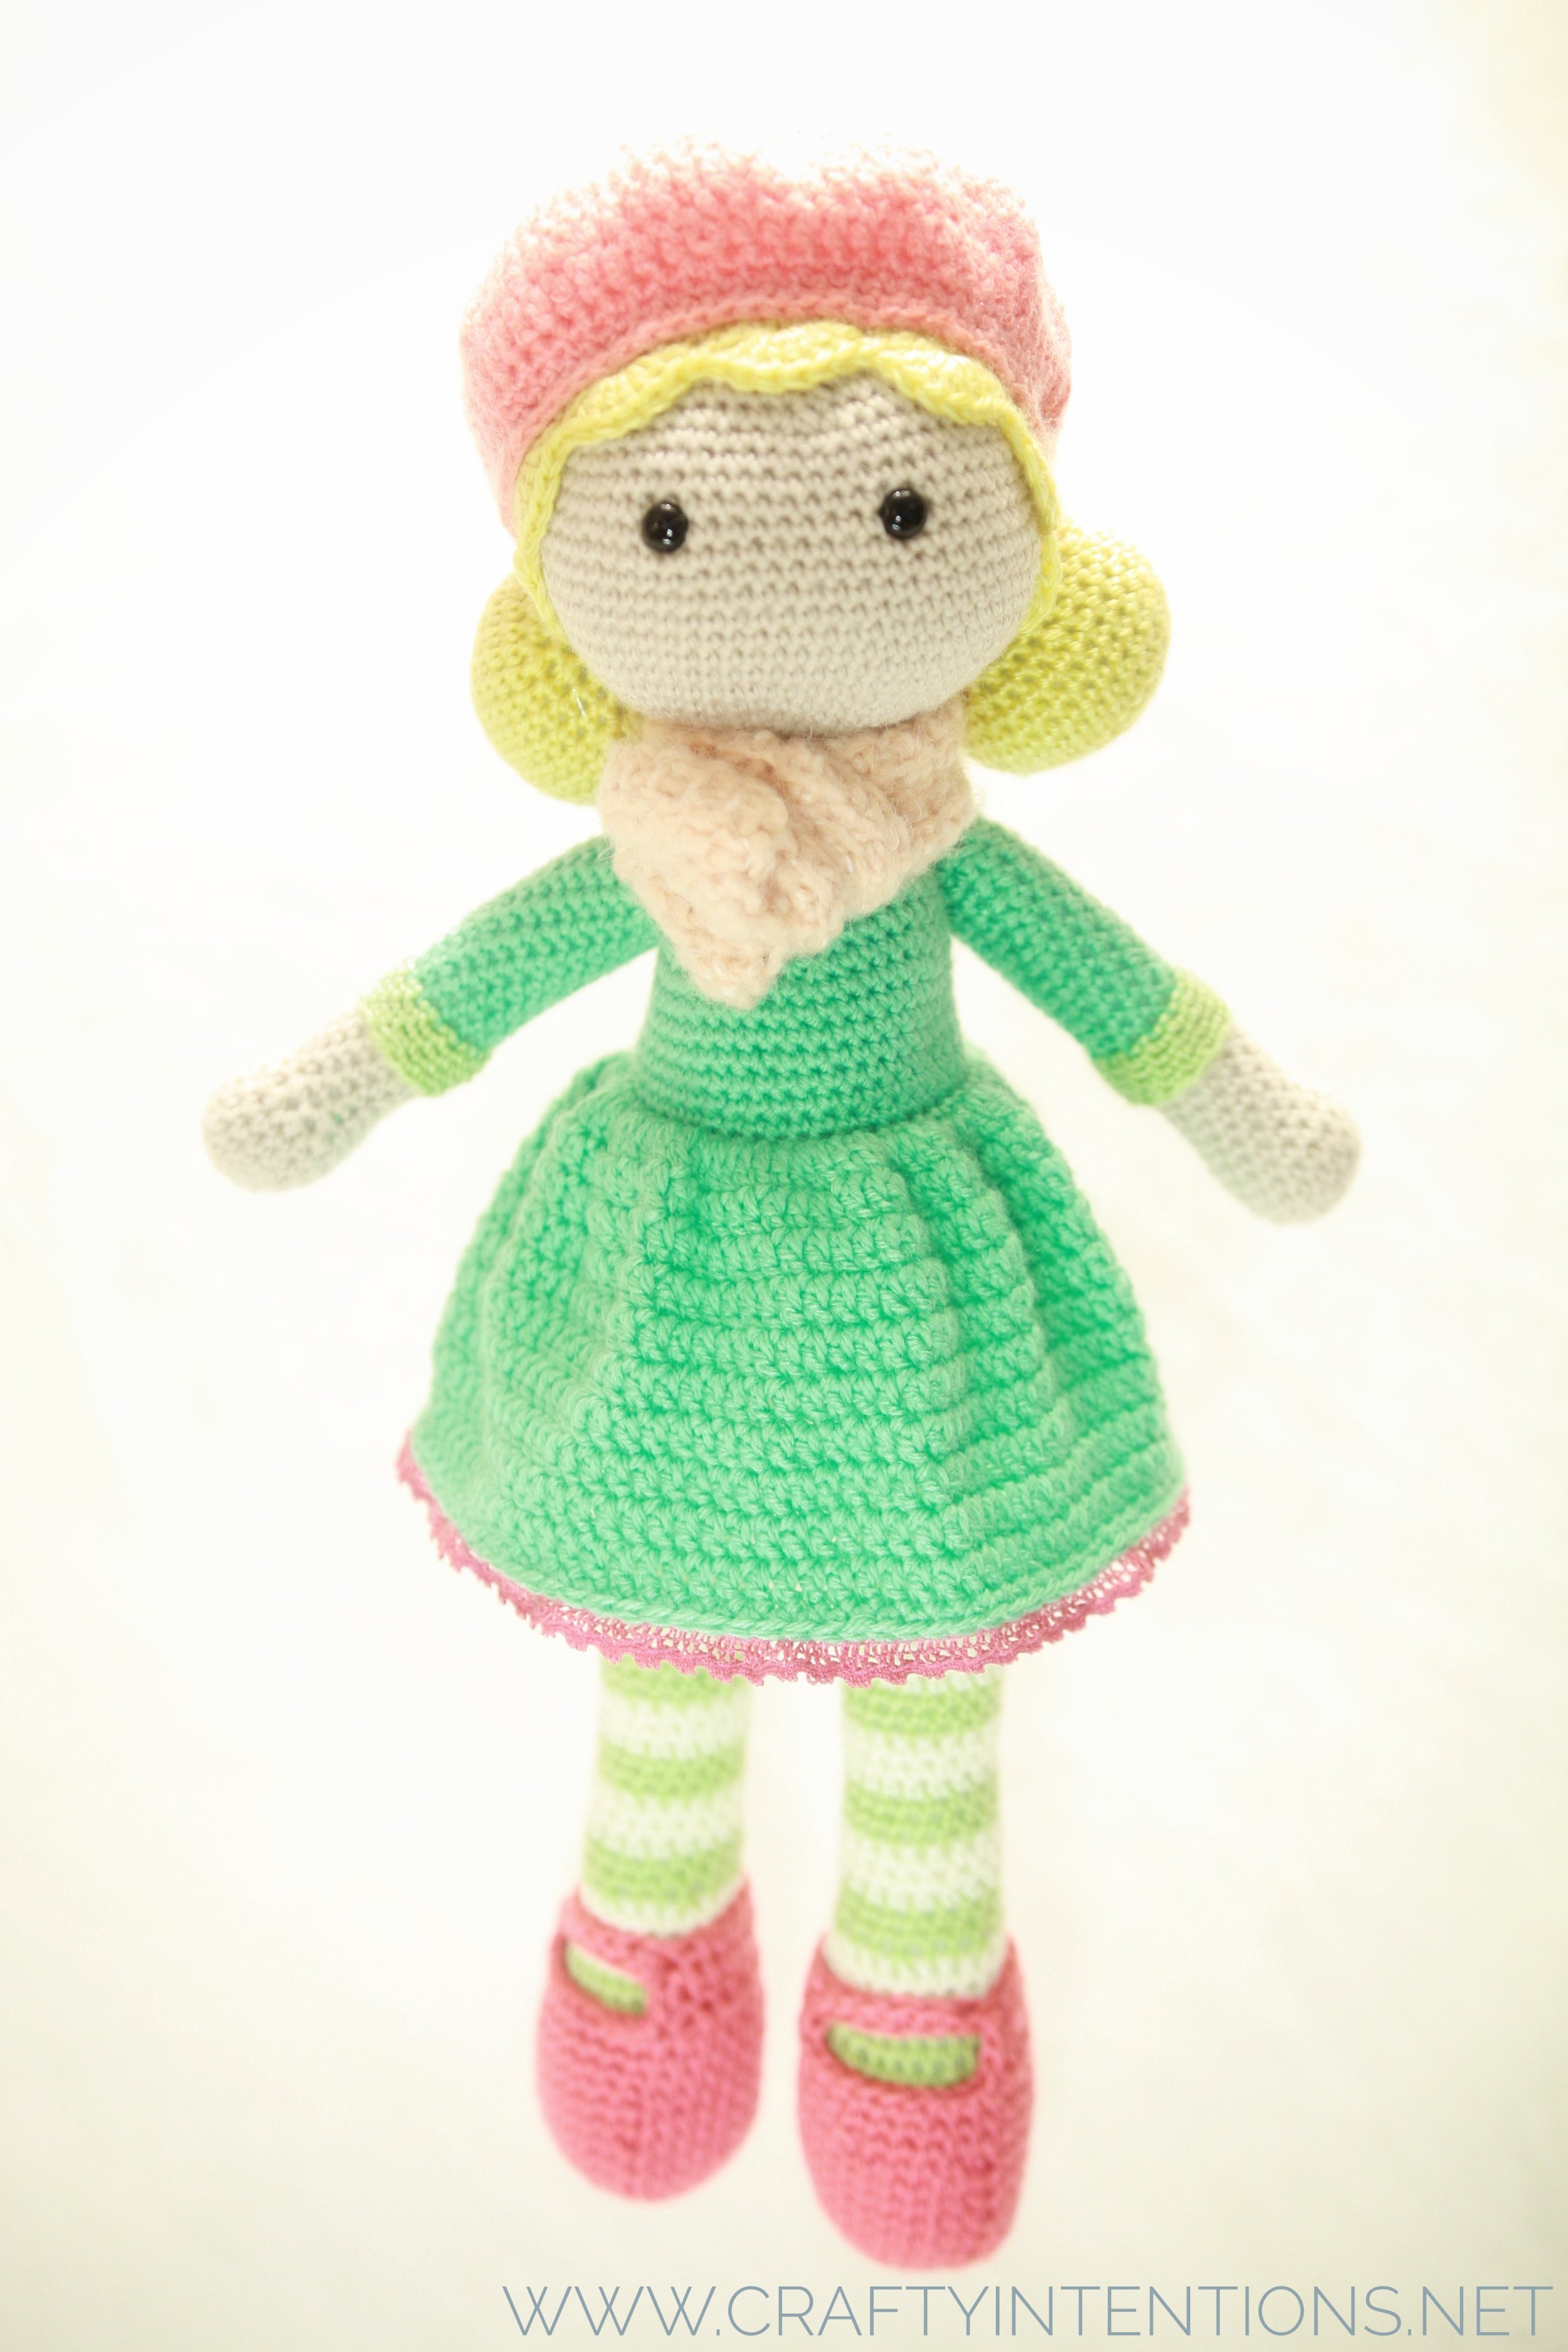
This makes a larger doll than I expected, but it was fun to be able to make all the different bits in different coordinating colors. I chose to sew trim to the bottom of the inside of the skirt. I also sewed on all the accessories to make sure that they are secure as a toy for a small child. I would certainly recommend this pattern!
Merry Christmas! Happy Holidays!
Be safe, be loved.
Holiday Gift Idea!
My nephew made this drawing in 2008. He drew a family portrait with his parents and his brother, and there's even a squiggle on his mom's belly which is meant to be his soon-to-be brother. I took the drawing, scanned it into the computer, printed it on fabric, and then I embroidered it by hand. I framed it as a gift for them. It took a bit of time, but I'm proud of the results, and when you're on a budget this is an excellent option!
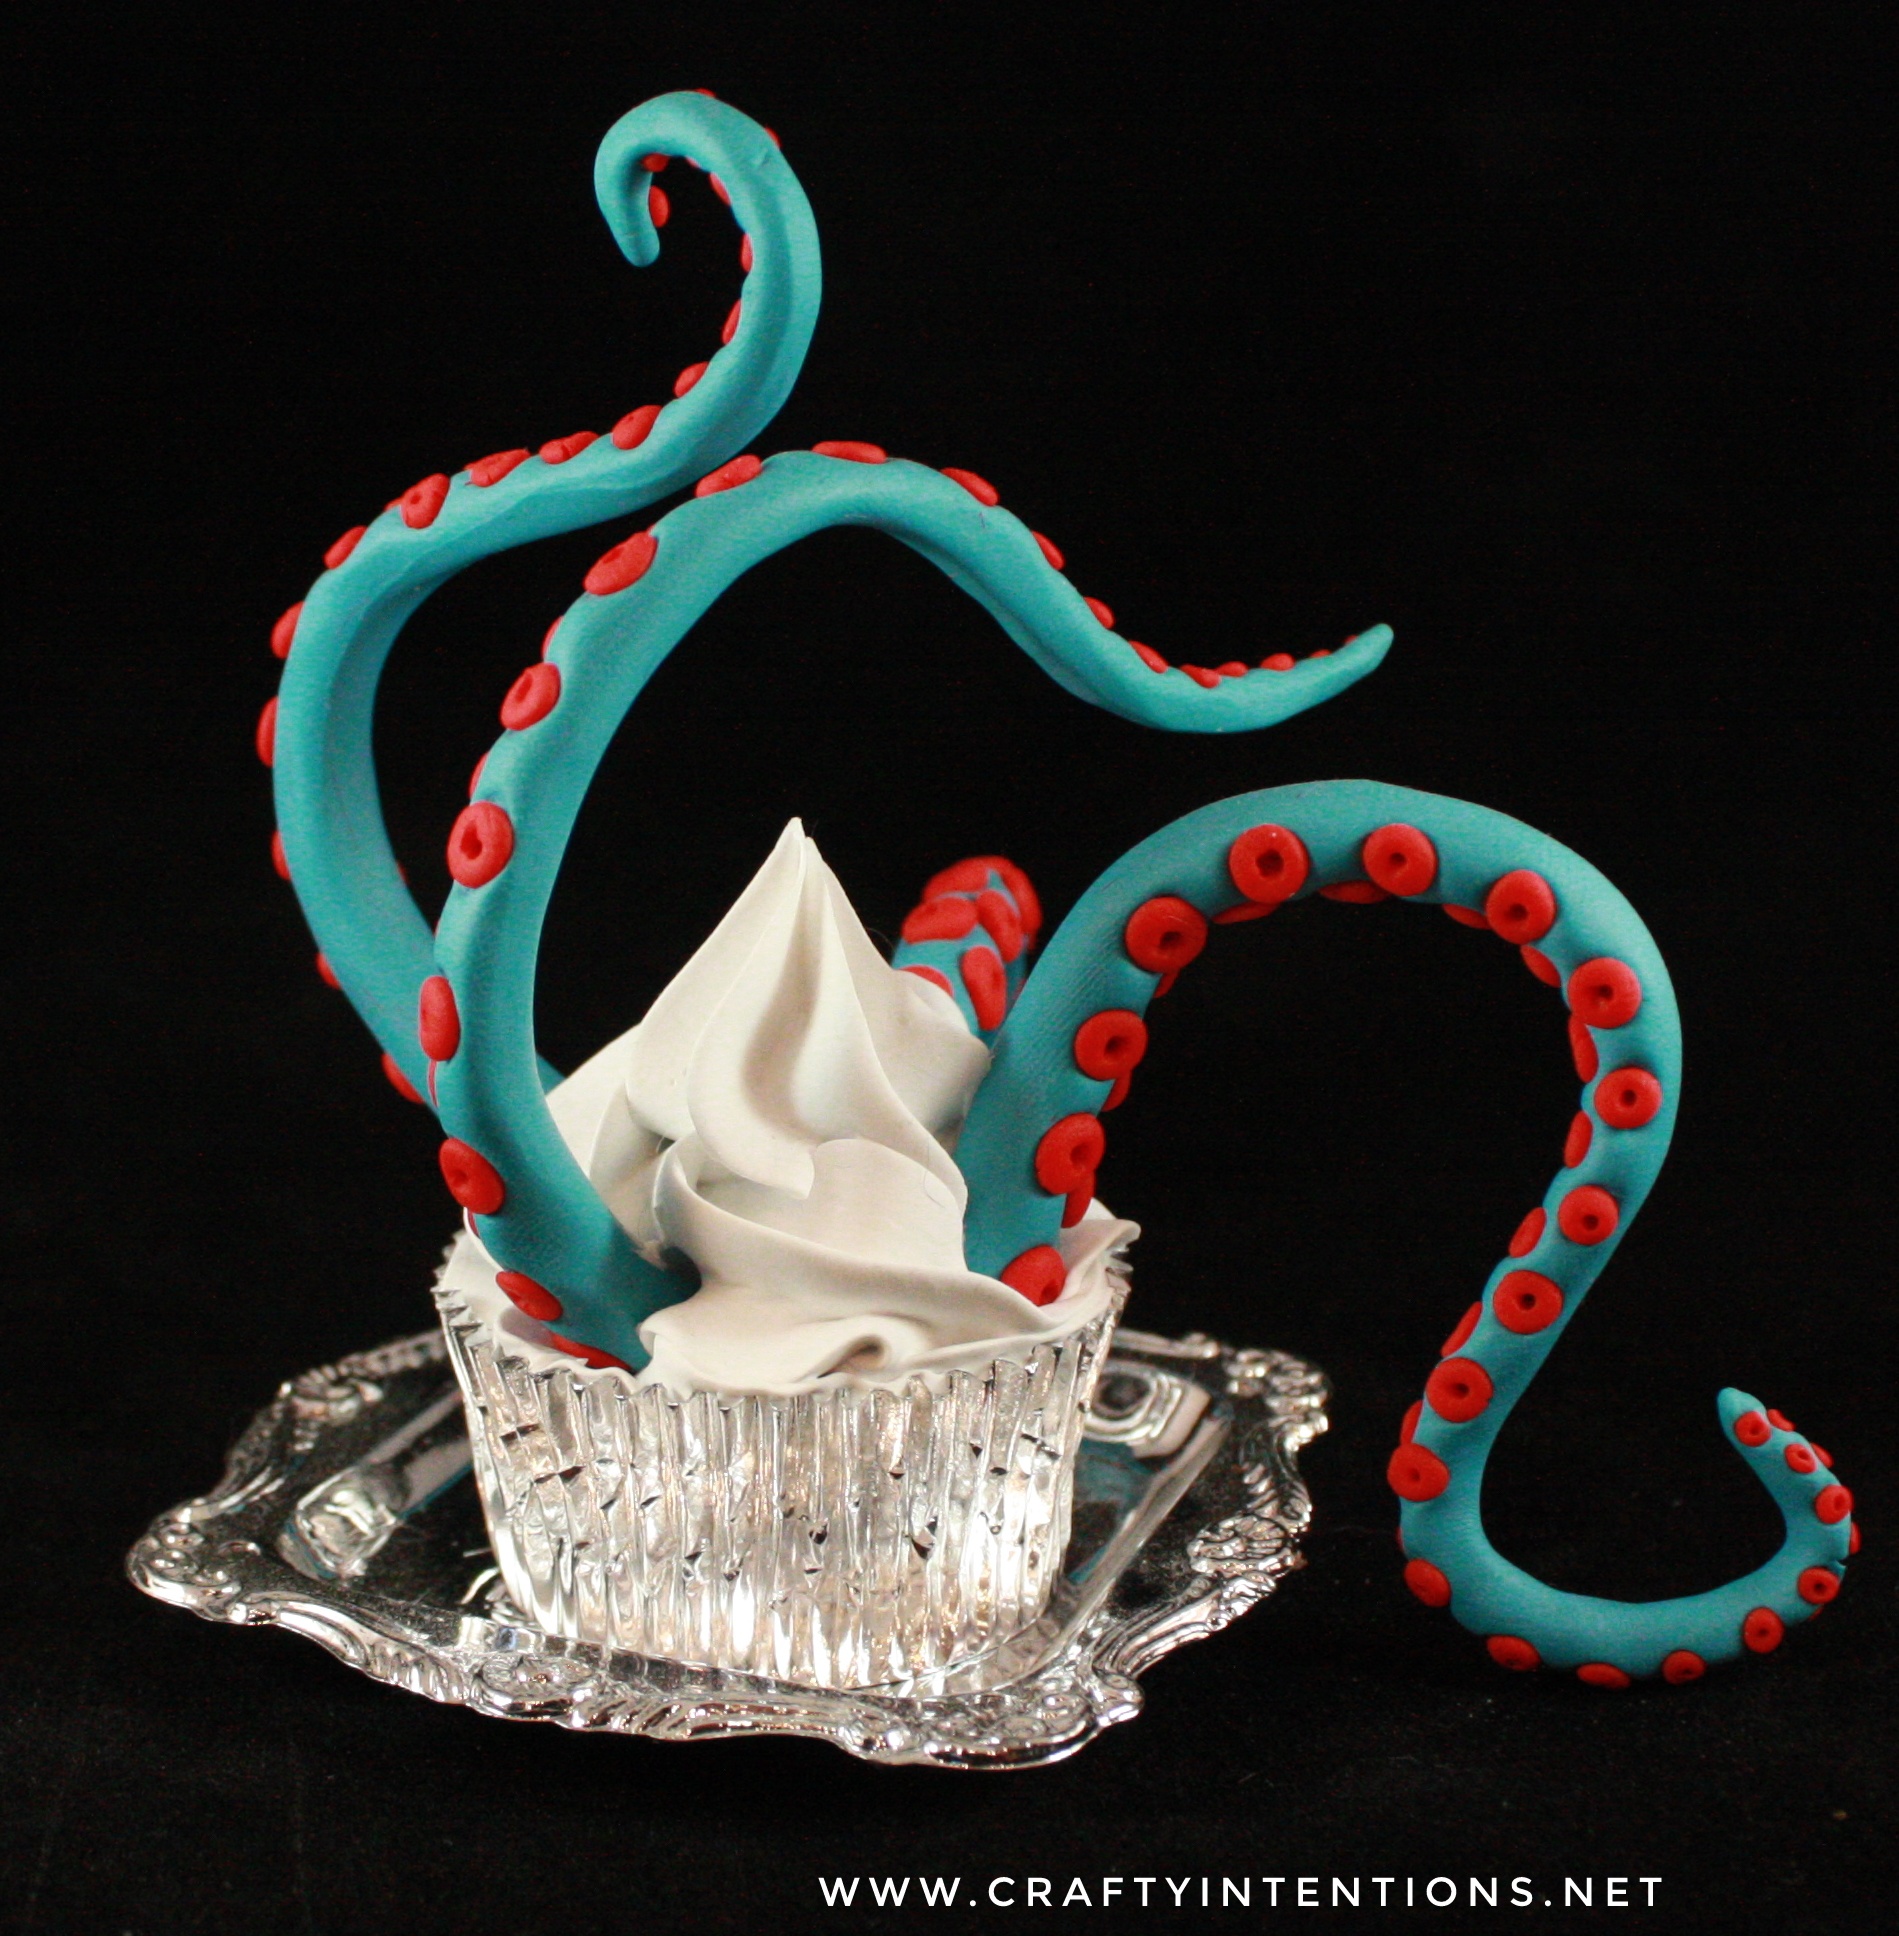
Crafty Intentions: Failed Results, Part 5: Tentacle Cupcakes
Why?
Why is a good question. I don't know why.
All I can say is that at the time, it made sense. Now? Hmm.
Crafty Intentions Quilt Edition: Pillows
When I was learning to quilt, one of the things that I became obsessed with was quilting 10 pillow shams for each season of the year. I ended up only making about 30 of them - 10 for spring/summer, 10 for Fall, and 10 for Christmas/winter. These are my Christmas winter ones. What was fun was that they are so small that piecing them was not overwhelming, quilting them was an experiment and I could get creative with it. They are envelope shams, so they come off pretty easily and we wash them after the 4 months or so they're on the pillows. They look so festive, and I never get tired of them because we change them out with the seasons!
10/10 would highly recommend this project!
Featured Pattern: Seahorse
Seahorse made by Me! Crafty Intentions
Pattern by Terry Finer.
Available Here: https://www.ravelry.com/patterns/library/post-modern-post-stitch-seahorse
This pattern builds this seahorse in an ingenious 3-dimensional way so that you do not need stuffing. It is built in such a way that it fills itself out! It's amazing! I made a ton of them and it was tremendous fun. It was certainly a challenging pattern, I would say intermediate or above. But I would definitely recommend it!
Free Crafty Intentions Hungry Caterpillar Pattern
Have your child (or classroom!) tell the story of The Very Hungry Caterpillar by feeding the Caterpillar the correct food as you read the story! Kids will be able to practice all kinds of skills like color recognition, counting, gross and fine motor skills. The best part is that you clean up the toy as you play with it!! This pattern is 10 pages long and contains a full set of instructions with photographic illustrations, and specific links to every other FREE pattern you will need to put together a full set of every piece of food in Eric Carle's "The Very Hungry Caterpillar"!!
Available here on Ravelry: https://www.ravelry.com/patterns/library/hungry-caterpillar-play-set
© 2018 Megan Lapp, Crafty Intentions™. All rights reserved. This pattern is FOR PERSONAL USE ONLY. The pattern (or parts of it) may not be reproduced, distributed or resold, translated, published, altered, shared or posted (for sale or free) over the internet or offline. You can sell items made from this pattern, provided they are handmade by yourself in a limited number and you give credit to the designer. Please add the following lines to your item description and any item you are selling: “This item is handmade by (your name) from a design and pattern by Megan Lapp, Crafty Intentions™”.
Pincushions forever.
There was a time when I became obsessed with making pincushions. Why? Everyone needs a pincushion, right? Wrong. Very few people need pincushions. But I thought that it was a good way to explore making felt-hand-stitched-softies with a purpose.
First there were cacti. I made the pattern myself. It's felt, stuffed with polyfil (with a little bit of steel wool at the end of each cactus branch to keep the pins and needles sharp!). I glued it into the terra cotta pot. Not a great idea, because pots like this break easily. One curious cat later, and you'd find yours shattered on the floor with no ability to fix it. Also, they are a bit large and in charge - I'm not sure anyone needs a pin cushion of this gigantic size. Fail.
For a while I dabbled in snap bracelet pin cushions. I wanted the active seamstress to be able to wear a stylish... Octopus?... on her wrist and stab it as often as she liked. It was a good idea, but in practice it's quite bulky. It takes up too much space, and doesn't stay oriented on the wrist. The snap bracelet itself (that I encased in blue felt above) wasn't quite strong enough, so in the end, it was a fail and a one-off. I did try again with a Rainbow snap bracelet. I made a separate arched felt rainbow that was pulled straight when you wore it as a bracelet, but arched into the air between two clouds at either end of the snap bracelet when it was straight... But it had the same issues. I would show you, but I can't even find a picture!
Cupcakes were my next attempt. This was a better idea than terra cotta pots and cacti, because the silicone cups I used aren't breakable! Win!... Ish! Instead the issues I found were first that the glass beads I used for sprinkles aren't great when you're using it as a pincushion (they get in the way of the pins!, duh. Ugh.), and the glue I used to secure the cupcake into the silicone cup didn't hold.
I started getting warmer with this one! The Ice cream cone I glued into a wooden cone, and that worked great. The Glue held, and the wood was not fragile. Unfortunately, I made the same mistake with the glass beads getting in the way of pins.
This was a small hat I found in a craft shop, that was just begging for a little white rabbit. So I made it look like the rabbit was hiding in the hat and everything was so great! The hat is not breakable, the glue held, and there was no interference for the pins. However, I underestimated how disturbing it would feel to stab pins into the back of a helpless little magic hat rabbit.
Once I entered the world of disturbing, it was hard to turn back though. This one was built on a recycled bottle cap weighted with pennies. The beads get in the way, but it turned out well for what it is. Very few people seem to enjoy it the way I do, unfortunately.
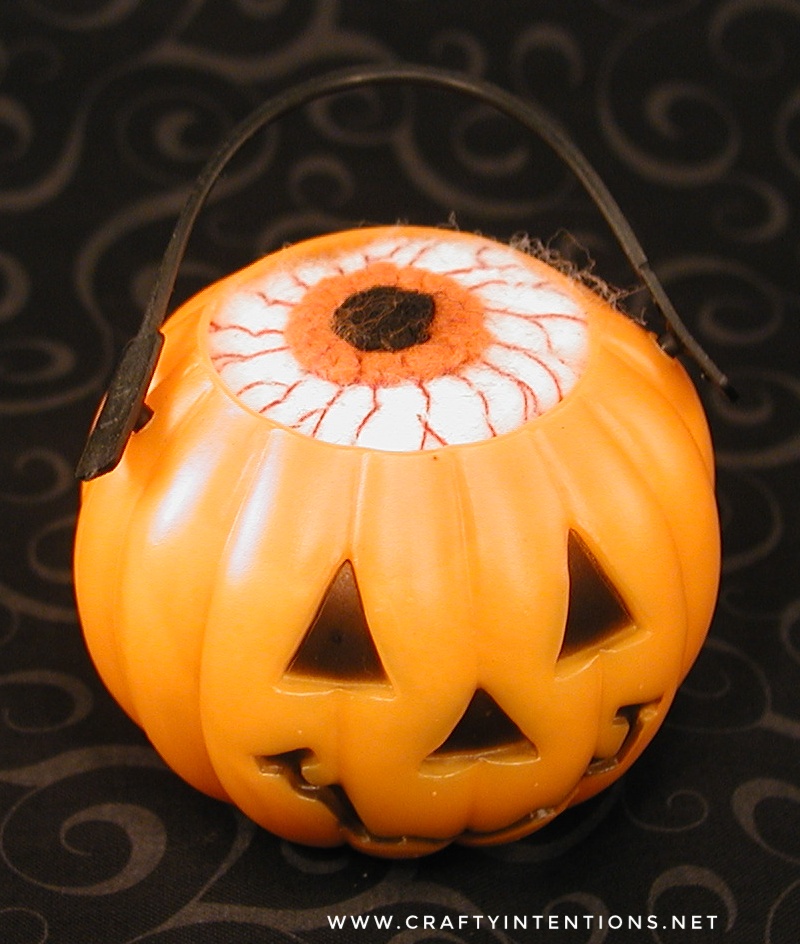
Have you ever seen these cheapy little plastic pumpkins? I'm not sure what they're supposed to be fore, halloween party favors maybe?? But, I decided to try them for pin cushions! MORE EYEBALLS.... Maybe? Hmm, maybe not.
This one might be my favorite. It worked up quickly - a little piece embroidered like a brain. The glue held, the pumpkin isn't fragile...
And then I figured out that I prefer to keep my pins in a box.
Oh well.


